Create Your First Application!
Get to know Nette Framework while creating a simple blog with comments. Let's begin!
After the first two chapters, you will have your own working blog and you'll be ready to publish your awesome posts, although the features will be quite limited after completing just these two chapters. You should also read the following chapters, where we will implement adding comments, editing posts, and finally, securing the blog.
This tutorial assumes that you completed the Installation document and have successfully set up your tooling. It also assumes that you understand object-oriented programming in PHP.
Please use PHP 8.1 or later. You can find the complete application on GitHub.
The Welcome Page
Let's start by creating a new project in the nette-blog directory:
composer create-project nette/web-project nette-blog
At this moment, the welcome page of the Web Project should be running. Try it by opening your browser and navigating to the following URL:
http://localhost/nette-blog/www/
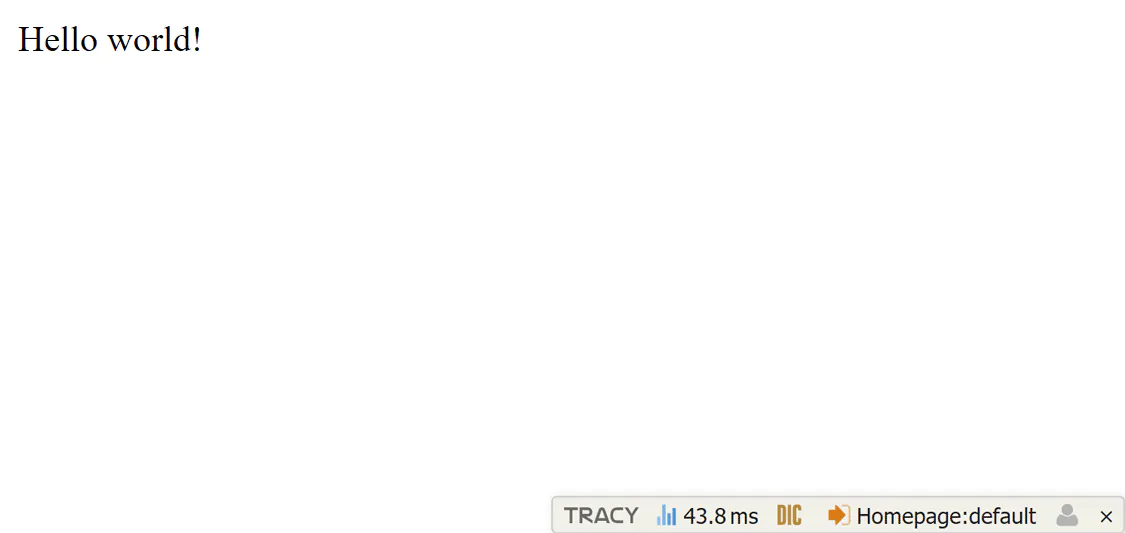
and you should see the Nette Framework welcome page:

The application works, and you can now start making changes to it.
If you have a problem, try these few tips.
Web Project Content
The Web Project has the following structure:
nette-blog/
├── app/              ← application directory
│   ├── Core/         ← basic necessary classes
│   ├── Presentation/ ← presenters, templates & co.
│   │   └── Home/     ← Home presenter directory
│   └── Bootstrap.php ← booting class Bootstrap
├── assets/           ← raw assets (SCSS, TypeScript, source images)
├── bin/              ← scripts for the command line
├── config/           ← configuration files
├── log/              ← error logs
├── temp/             ← temporary files, cache, …
├── vendor/           ← libraries installed by Composer
│   └── autoload.php  ← autoloading of all installed packages
└── www/              ← public folder - the only place accessible from the browser
    ├── assets/       ← compiled static files (CSS, JS, images, …)
    └── index.php     ← initial file that launches the application
The www/ directory is intended for storing images, JavaScript files, CSS styles, and other publicly accessible
files. This is the only directory directly accessible from the internet, so set the document root of your web server to point here
(you can configure this in Apache or Nginx, but let's do it later, as it's not critical right now).
The most important directory for you is app/. Here you will find the Bootstrap.php file, which
contains a class that loads the framework and configures the application. It activates autoloading, sets up the debugger, and
configures routes.
Cleanup
The Web Project contains a welcome page, which we will remove before starting any programming. Feel free to replace the content
of the app/Presentation/Home/default.latte file with “Hello world!”.
Tracy (Debugger)
An extremely important tool for development is the debugging tool Tracy. Try
introducing an error in your app/Presentation/Home/HomePresenter.php file (e.g., remove a curly brace from the
HomePresenter class definition) and see what happens. A red screen page will appear with an understandable error
description.
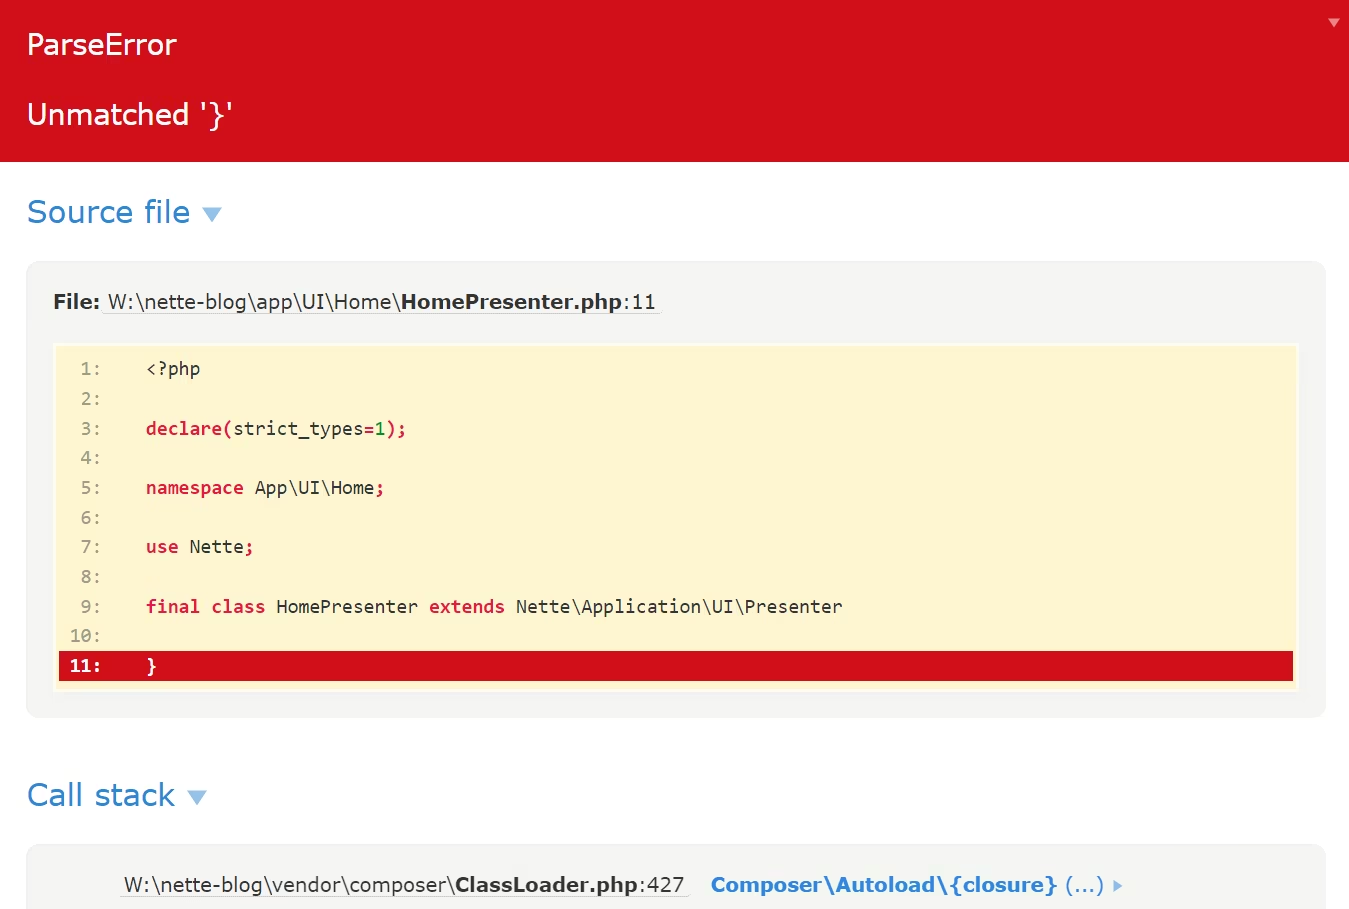
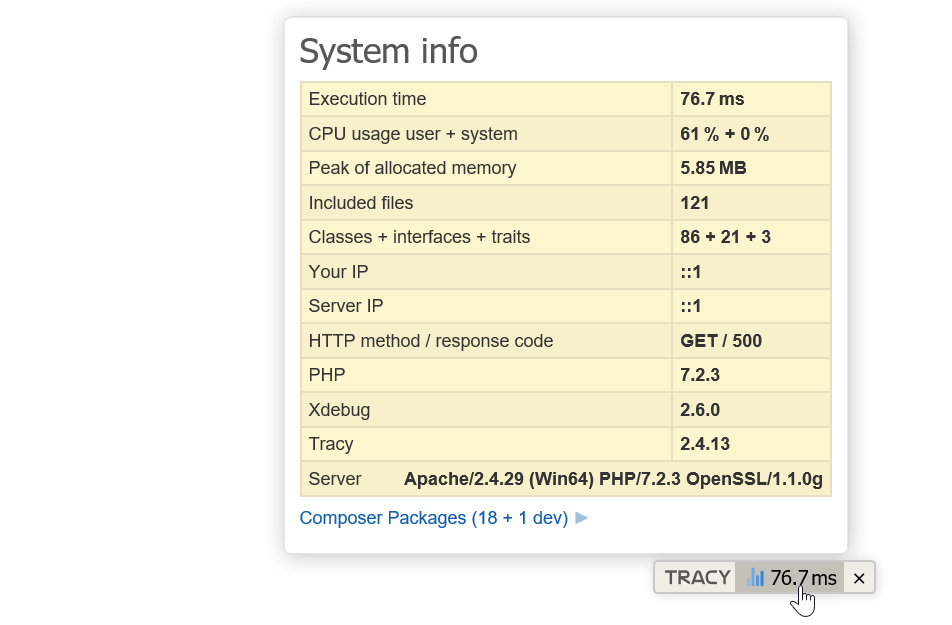
Tracy will significantly help you when debugging errors. Also, notice the floating Tracy Bar in the bottom right corner of the screen, which displays important runtime information.
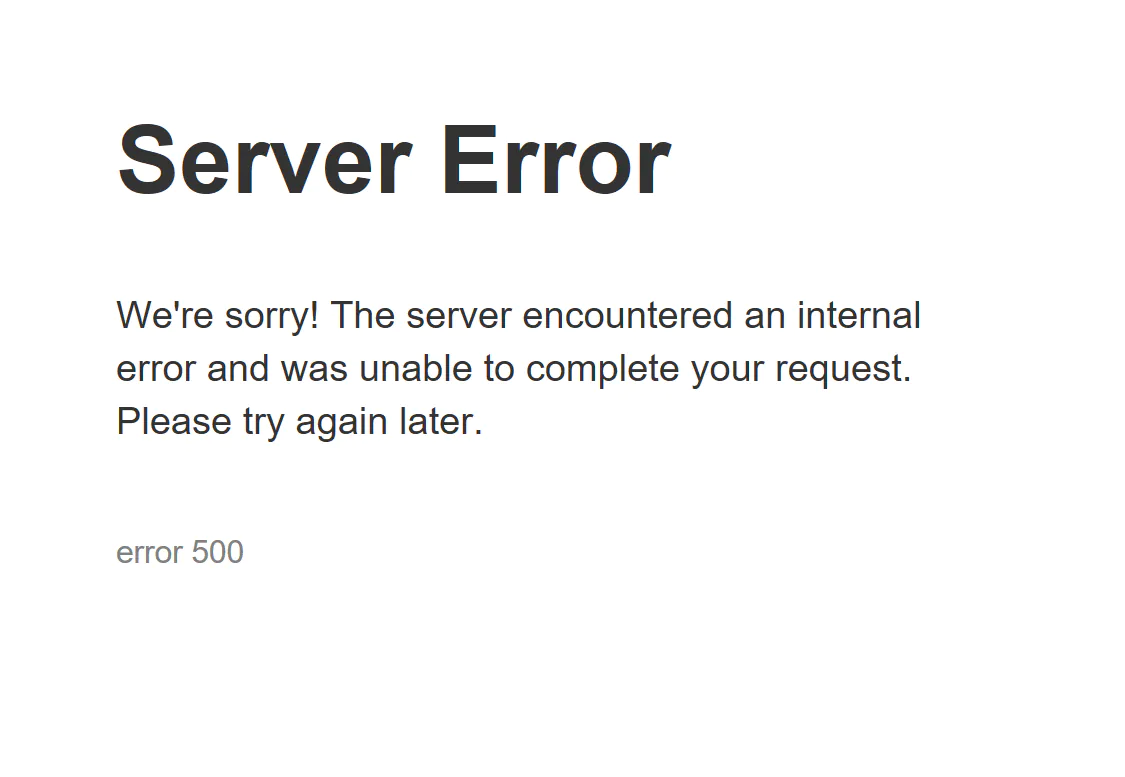
In production mode, Tracy is, of course, disabled and does not display any sensitive information. All errors are saved in the
log/ directory instead. Let's try it out. In the app/Bootstrap.php file, find the following piece of
code, uncomment the line, and change the method call parameter to false, so it looks like this:
// ...
$this->configurator->setDebugMode(false);
After refreshing the web page, you will no longer see the red screen. Instead, a user-friendly message will be displayed:
Now, look into the log/ directory. Here (in the exception.log file), you will find the logged error
and also the familiar error message page (saved as an HTML file with a name starting with exception-).
Comment out the line // $configurator->setDebugMode(false); again. Tracy automatically enables development mode
on a localhost environment and disables it elsewhere.
Now, we can fix the error we introduced and continue building our application.
Send Thanks
We'll show you a trick that will delight open-source authors. You can easily give a star on GitHub to the libraries your project uses. Just run:
composer thanks
Try it!